
Title: Tour the User Interface and Using a Mouse
Author: Jim
Article Type: TaTs (Tips and Techniques)
Date Published: 7/29/2021
Date Updated: NA
XP Level: Beginner
Nodon Featured: NA
Nodons Used: NA
Typical Time Required: 15 minutes
Tour the User Interface and Using a Mouse
If you haven’t already I strongly urge you to go through the Game Builder Garage Interactive lessons and checkpoints. It will cover most of what is in this article and give you the basics on designing and building games. The lessons can be somewhat annoying at times but still very useful. You have to complete the first lesson to unlock free programming.
This article will summarize the user interface elements of the programming environment and game screens. Buckle up, our tour starts now.
As in most of these tutorials feel free to jump to the end and watch the video version. Whatever suits your learning style. [Video coming soon]
Select Free programming to work on programs or play them.
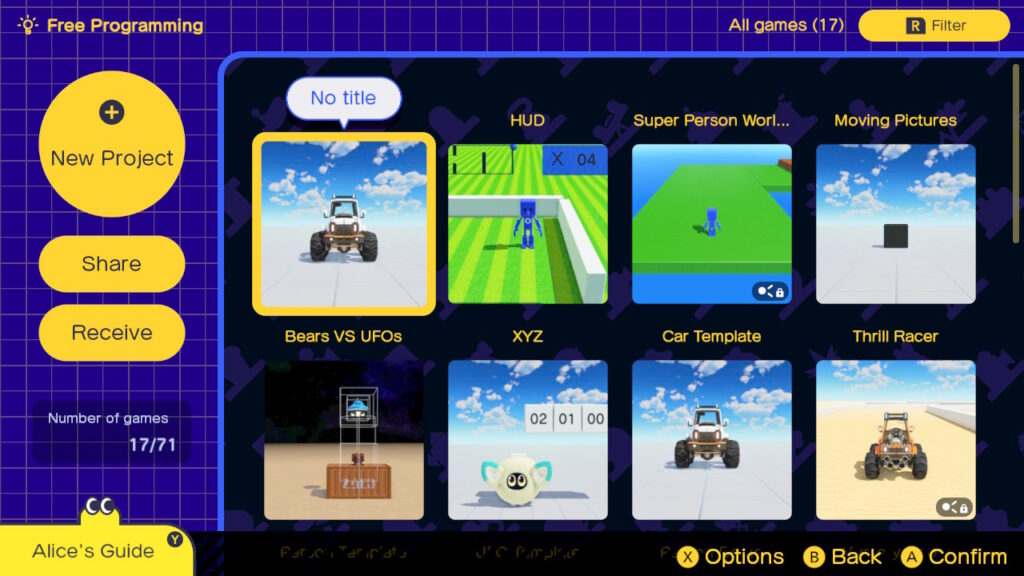
Once you select free programming you will be presented with the above screen. Several of the yellow buttons are self explanatory so we will only briefly cover them.
New Project or + button will create a new project.
Share will allow you to share your creation to the world or locally to nearby Switches. You will need a Nintendo Switch Online membership to share games over the internet.
Receive will let you download projects from other people shared online or from other Switches nearby. You will need to have the Programmer or Game ID to download games shared online. You will also need a Nintendo Switch Online membership.
The number of games stored for you is shown below the Receive button.
Alice’s Guide is available in the lower left hand corner. This has interactive explanations for key concepts and Nodons covered in the Interactive Lessons. Concepts and Nodons are added as you complete the lessons so that is more incentive to complete all of them.
In the upper right is a button labeled Filter which can also be selected using the Right shoulder button. This will allow you to toggle the games listed from All games to Favorites.
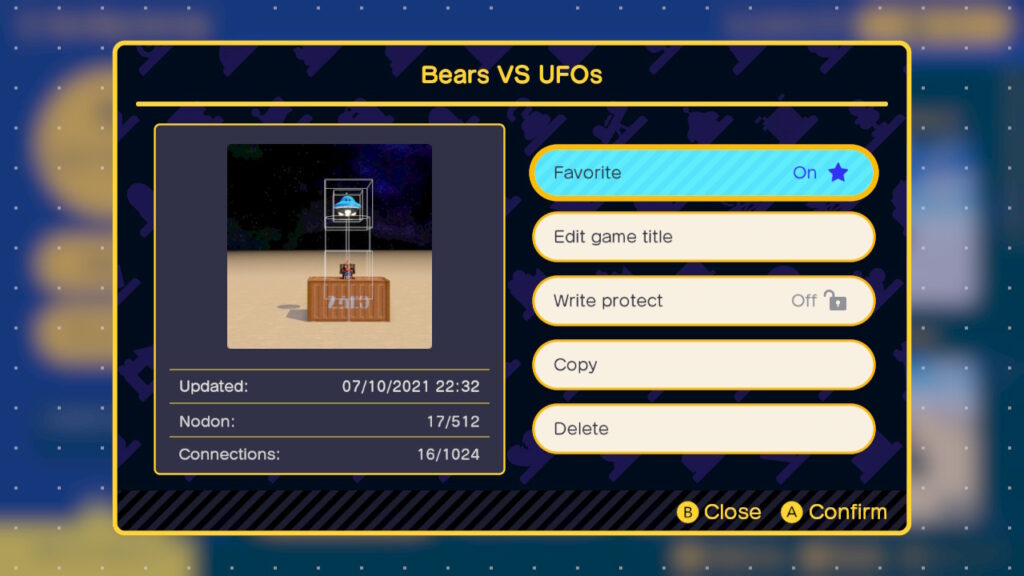
Most of the screen is devoted to Games. When you select a game the A button will run it. The X button will bring up an options screen for that game. Go ahead and select one of your games and then press the X button on your JoyCon. This is where you can make it a favorite or lock it to make it harder to delete. You can also copy a game if you want to make a new project based on an old one. If desired the game title can also be changed. On the left side some pertinent stats of the game is listed.
Press B button to close the game Options screen. Select New Project and we will go over the user interface for the game.
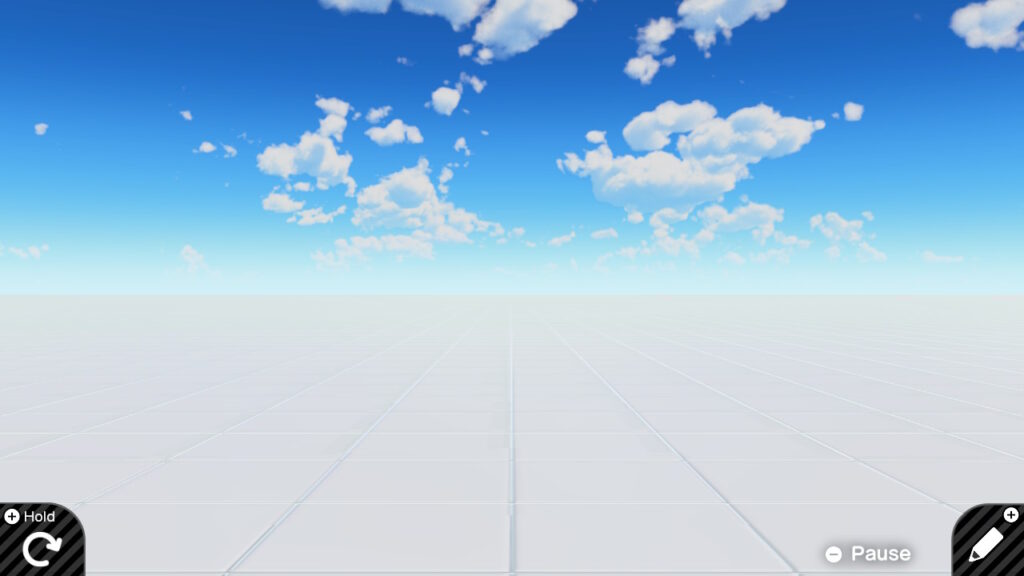
The first thing you will see is a default game screen. Once something is programmed you will see that running here. Since nothing is running we are only seeing the defaults. There are only three items of note as far as the user interface.
in the lower left you can see that holding the + button down will cause the game to restart.
The + button will put you into the programming or editing mode of your game.
The – button will Pause your game. It is also where you can exit or make changes.

There are several items of note here after pressing the – button on your JoyCon.
The large Edit game title button in the center will allow you to name your game. If you don’t name it, it will be saved as No title.
The End selection will exit your game and take you back to the game selection screen.
The controls selection will allow you to make adjustments to how you interact with the environment. For most people and situations the defaults here are probably good. However for me I have found that in Handheld/Tabletop Mode Controls, I prefer a Control Stick Pointer. You can still use touch but it also shows a cursor when using the left and right sticks to make fine adjustments easier.
Finally Nodopedia brings up the built in documentation for all of the Nodons. You will spend a lot of time here as you learn how the Nodons work and as a general reference.
The close or B button will take you back to the game or edit mode.
Press the B button and we should be back to the default game screen. Press the + button now so we can see the editing screen.
Tip> Before going into the editing screen I will make my pitch on the use of a mouse when editing your games. A mouse will allow you to precisely move and make connections between Nodons and will eliminate a lot of frustration when you are editing your game.
To use a mouse, plug a mouse into either of the side USB ports on the dock. I have used an old Dell wired mouse and a recent Microsoft wireless mouse. The wireless mouse is the kind that has a small RF dongle that plugs into the USB port not a Bluetooth mouse. I actually have more control using the really old Dell mouse compared to the higher resolution wireless mouse.
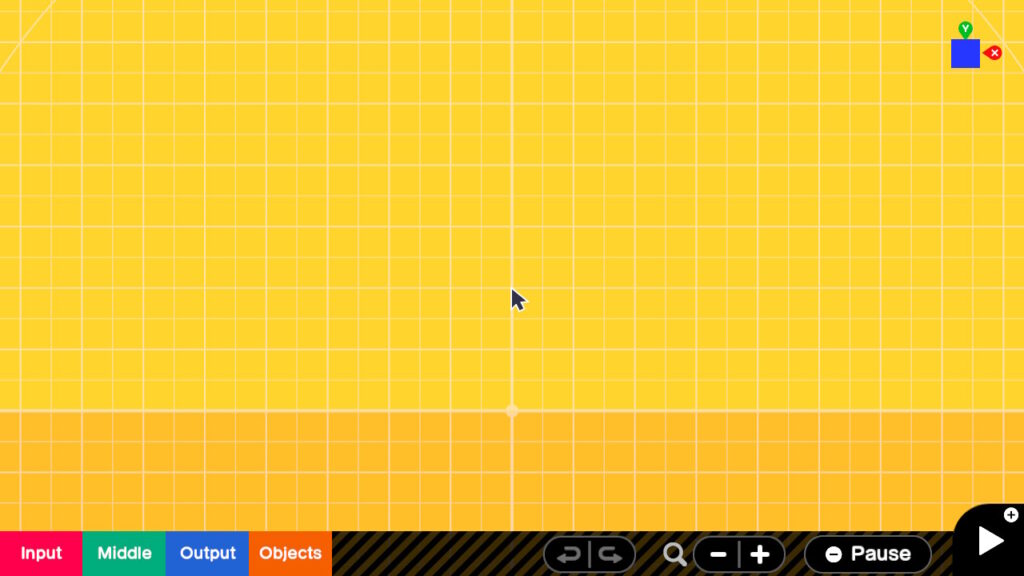
Once a mouse is connected you will see a mouse pointer instead of the crosshair cursor. You will still need the JoyCons for some things but for moving and positioning items, a mouse can’t be beat.
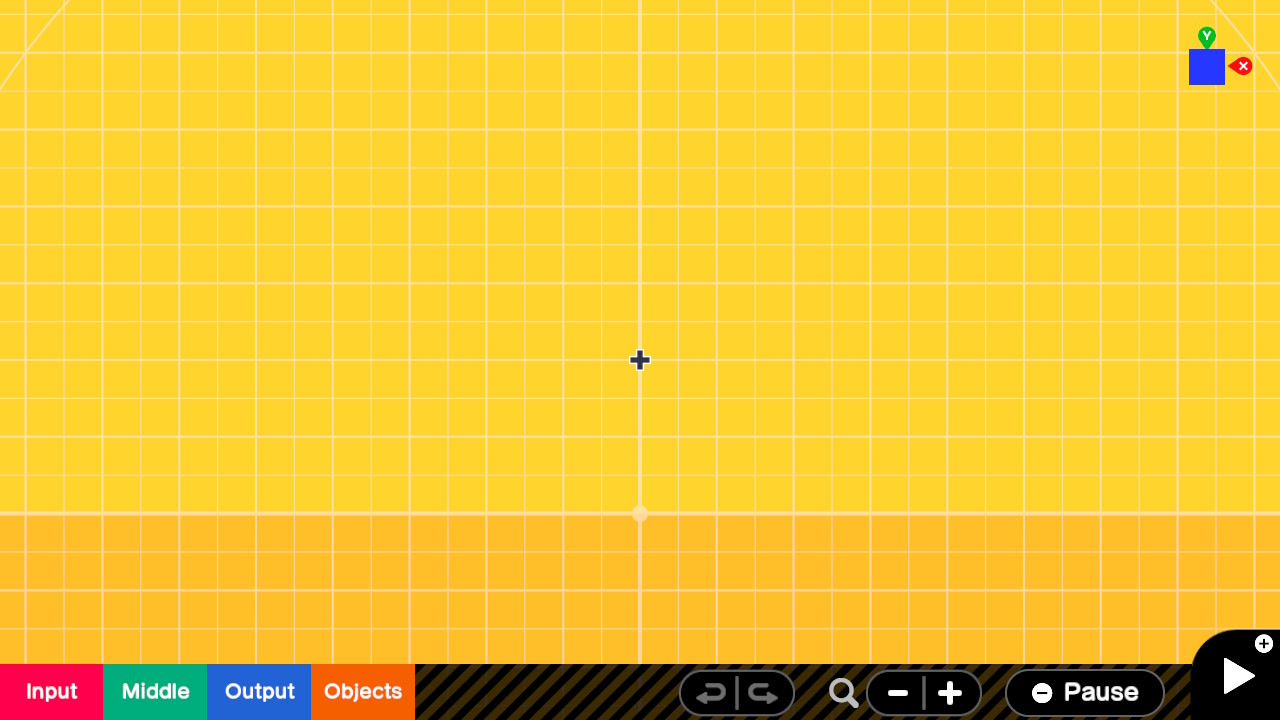
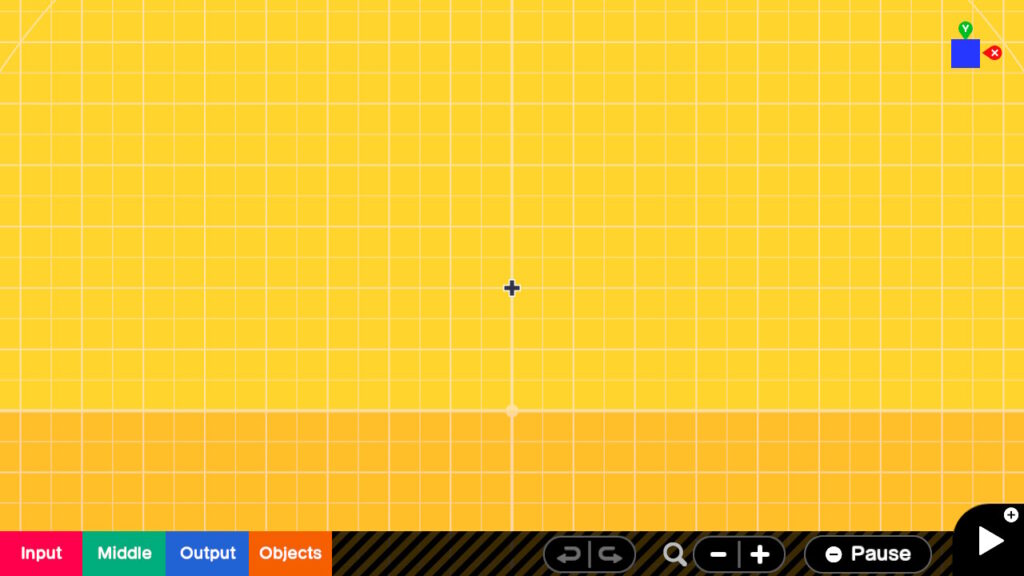
Now back to the editing screen. Should see a yellow grid with some controls at the bottom and top right of the screen. The lower left contains a set of 4 boxes which contain menus that allow you to select and place different types of Nodons into your game.
Input selection will pop open a menu that contain several types of Nodons including obvious ones for Buttons, Stick Movement, Touch Screen and Motion. It also includes Constant and State change which will make more sense once you use them. Note that items that end with a > sign will open up further sub menus while items with icons will place those Nodons on screen.
The Middle, Output, and Objects will also pop open menus where you can select other Nodons for use in your game. The Nodons that are placed have the same color as the menu item they came from. A useful color cue which is used in many areas of the interface.
To the right of these menu items you will see two curved arrows. One pointing to the left and one pointing to the right. These are the undo and redo buttons. This will revert the last change or put it back into place again. These are especially useful when you inadvertently move something. This will allow you to put it back into its original location easily. Note that multiple levels of undo are available. I haven’t tested how far back you can go, but I know that it is at least 12.
The next items to the right is a magnifying glass and a – and + symbol. These allow you to zoom in or zoom out the screen.
Finally we see the pause button again which serves the same purpose as it did in the game screen.
The last button on the right is the play triangle which can also be triggered with the + button on the JoyCon. This will start the game playing. This allows you to go between editing and playing the game very easily so you can immediately see the effect of any changes you have made.
Finally in the upper right is a curious blue square with an x and y next to it. Selecting this will toggle your view between a side view and top view. This is a simple explanation of what it does. The coordinate system used will be covered in another article. Note that pressing the x button on the JoyCon will also toggle the view. A blue square means a side view is being used and a green square means a top down view.
Tip> Precision moving/rotating/resizing of Nodons can be done using the arrow buttons on the left JoyCon. This will allow you to move items precisely left/right or up/down. Using your JoyCon select the Nodon you wish to move. Place your crosshair over the directional arrow icon on the Nodon and then press and hold the A button. While the A button is pressed use the arrows on the left JoyCon to move the Nodon in small increments with each press of the direction button. The same technique can be used for resizing the Nodon or for rotating it.
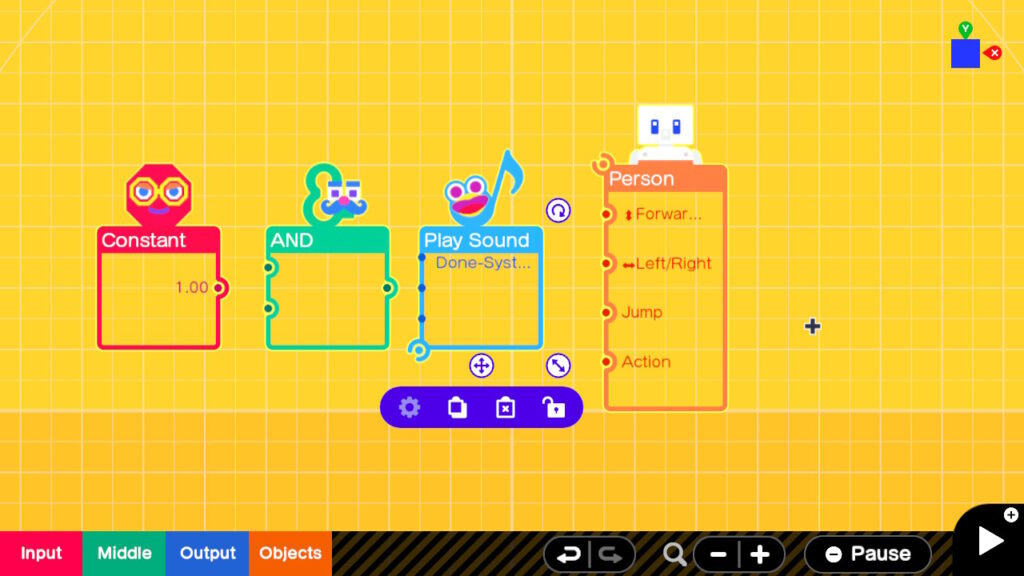
Tip> Select multiple Nodons. In many cases it is useful to move resize or delete multiple Nodons at once. To select multiple Nodons select the Nodon’s one at a time while pressing the ZL button. You don’t have to hold the ZL button down the whole time. Just when you are actually pressing the A button to select.
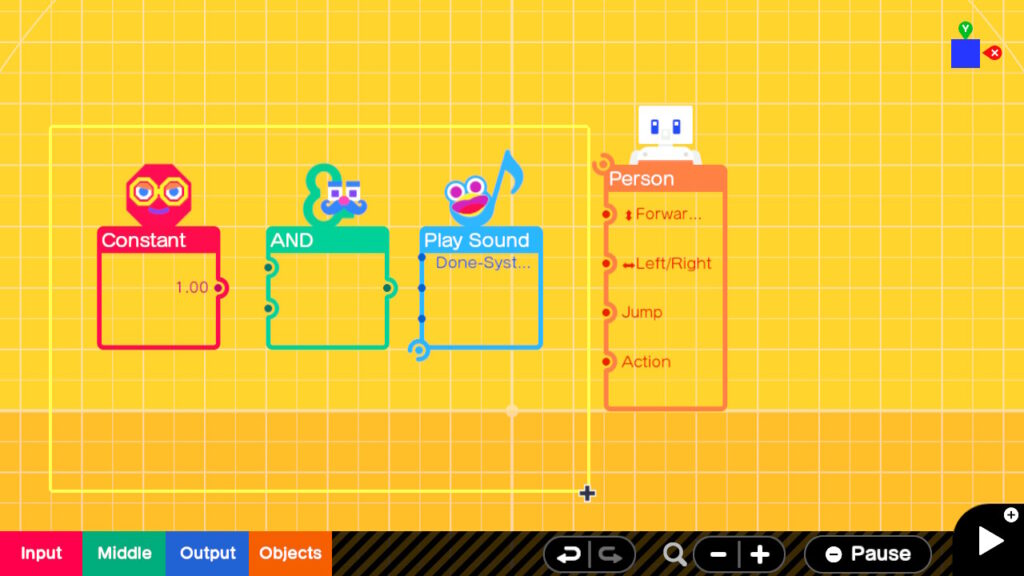
My daughter pointed out that each selected Nodon has a thin yellow border around it. I actually didn’t notice it, and was complaining, how could you tell if a Nodon was selected. I wish a more obvious contrasting color and thicker border was used. In the picture above the left three Nodons are selected and the person Nodon is not selected. Note the thin yellow border around the Nodons.
It is also possible to draw a selection rectangle to select multiple Nodons. Find a clear area to the left and above the Nodons you want to select. Then press the ZL button and then the A button. While the two buttons are held down you can move the left stick and create a Yellow selection rectangle. Once the rectangle appears you can stop pressing the ZL button but you have to continue holding the A button. Move this rectangle so that it surrounds the Nodons you want to select. Once you have the Nodons inside the rectangle release the A button. You should see yellow borders around all of the Nodons selected. If you need to select more Nodons simply hold down the ZL button use the crosshair cursor and A button to select them. You can then move or delete them as a group. Tip within a Tip> You can also double press the A button to start the yellow rectangle. Press the A button quickly and then on the second press, hold it and move the left JoyCon.
That’s it for the user interface. Feel free to view the video version of this article. [Video coming soon]
Summary : In this TaTs we explore the Game Builder Garage user interface and benefits of using a mouse.